hi everyone! this photoshop trick i call "the angel effect". it makes the subject in the picture glow as if light emanates from it. learned the basics in working on layers and adjustments in my webdesign class about two years ago... i have been a bit into photo enhancements since then...
here is how the angel effect is done:
1. open any picture you'd like to put the effect on
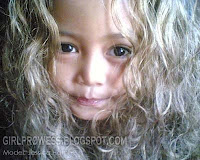
2. duplicate the picture by going to layer > duplicate, and then change the blending mode to soft light (just right click the duplicate layer). apply gaussian blur to the duplicate layer by clicking on filter > blur > gaussian blur, then set the radius to 30 (radius may vary depending on the photo).

here is how the angel effect is done:
1. open any picture you'd like to put the effect on

2. duplicate the picture by going to layer > duplicate, and then change the blending mode to soft light (just right click the duplicate layer). apply gaussian blur to the duplicate layer by clicking on filter > blur > gaussian blur, then set the radius to 30 (radius may vary depending on the photo).

3. adjust the foreground and background color on the tools palette to the default black and white, make sure that the foreground is black. click on the foreground color and adjust the settings: H and S 50, and B - 30. ok.

4. create a gradient map layer by going to layer > new adjustment layer > gradient map, then set the mode to lighten.

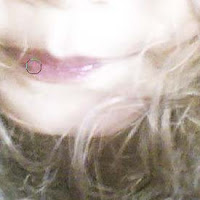
5. with all the effects that have been applied above, i'm pretty sure the picture looks washed out. let's put the necessary colors back by using the brush tool. make sure that the foreground color is set to black, and then select a soft, round brush to touch up parts of the picture that you want to saturate a bit. (make sure brush opacity is set to 20-30%). i used the brush to touch up the hair, eyebrows, eyes, and lips)
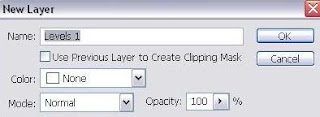
6. to prevent the picture from looking too faded out, select layer > new adjusment layer > levels from the menu. do the necessary adjustments: the amount of black, gray, and white.
7. flatten the image by clicking on the little triangle on the upper right corner of the layers window. save baby.

4. create a gradient map layer by going to layer > new adjustment layer > gradient map, then set the mode to lighten.


5. with all the effects that have been applied above, i'm pretty sure the picture looks washed out. let's put the necessary colors back by using the brush tool. make sure that the foreground color is set to black, and then select a soft, round brush to touch up parts of the picture that you want to saturate a bit. (make sure brush opacity is set to 20-30%). i used the brush to touch up the hair, eyebrows, eyes, and lips)
6. to prevent the picture from looking too faded out, select layer > new adjusment layer > levels from the menu. do the necessary adjustments: the amount of black, gray, and white.

7. flatten the image by clicking on the little triangle on the upper right corner of the layers window. save baby.
there you have it! angel angel effect :)
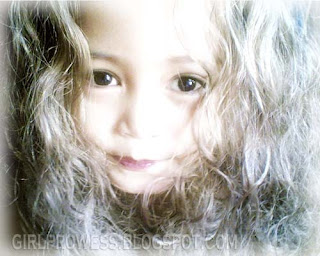 (if you have better ideas please feel free to drop me some comments... thanks:)
Subscribe to:
Post Comments (Atom)


0 comments: